Hi so here is specifics for the Coffee n Cards I did on Saturday August 15 Hope you were there and you shared I'm giving away a double that I had to someone who shares. Will it be you? Let me know in the comments if you shared the video. It's on Creative Mix page on FaceBook.
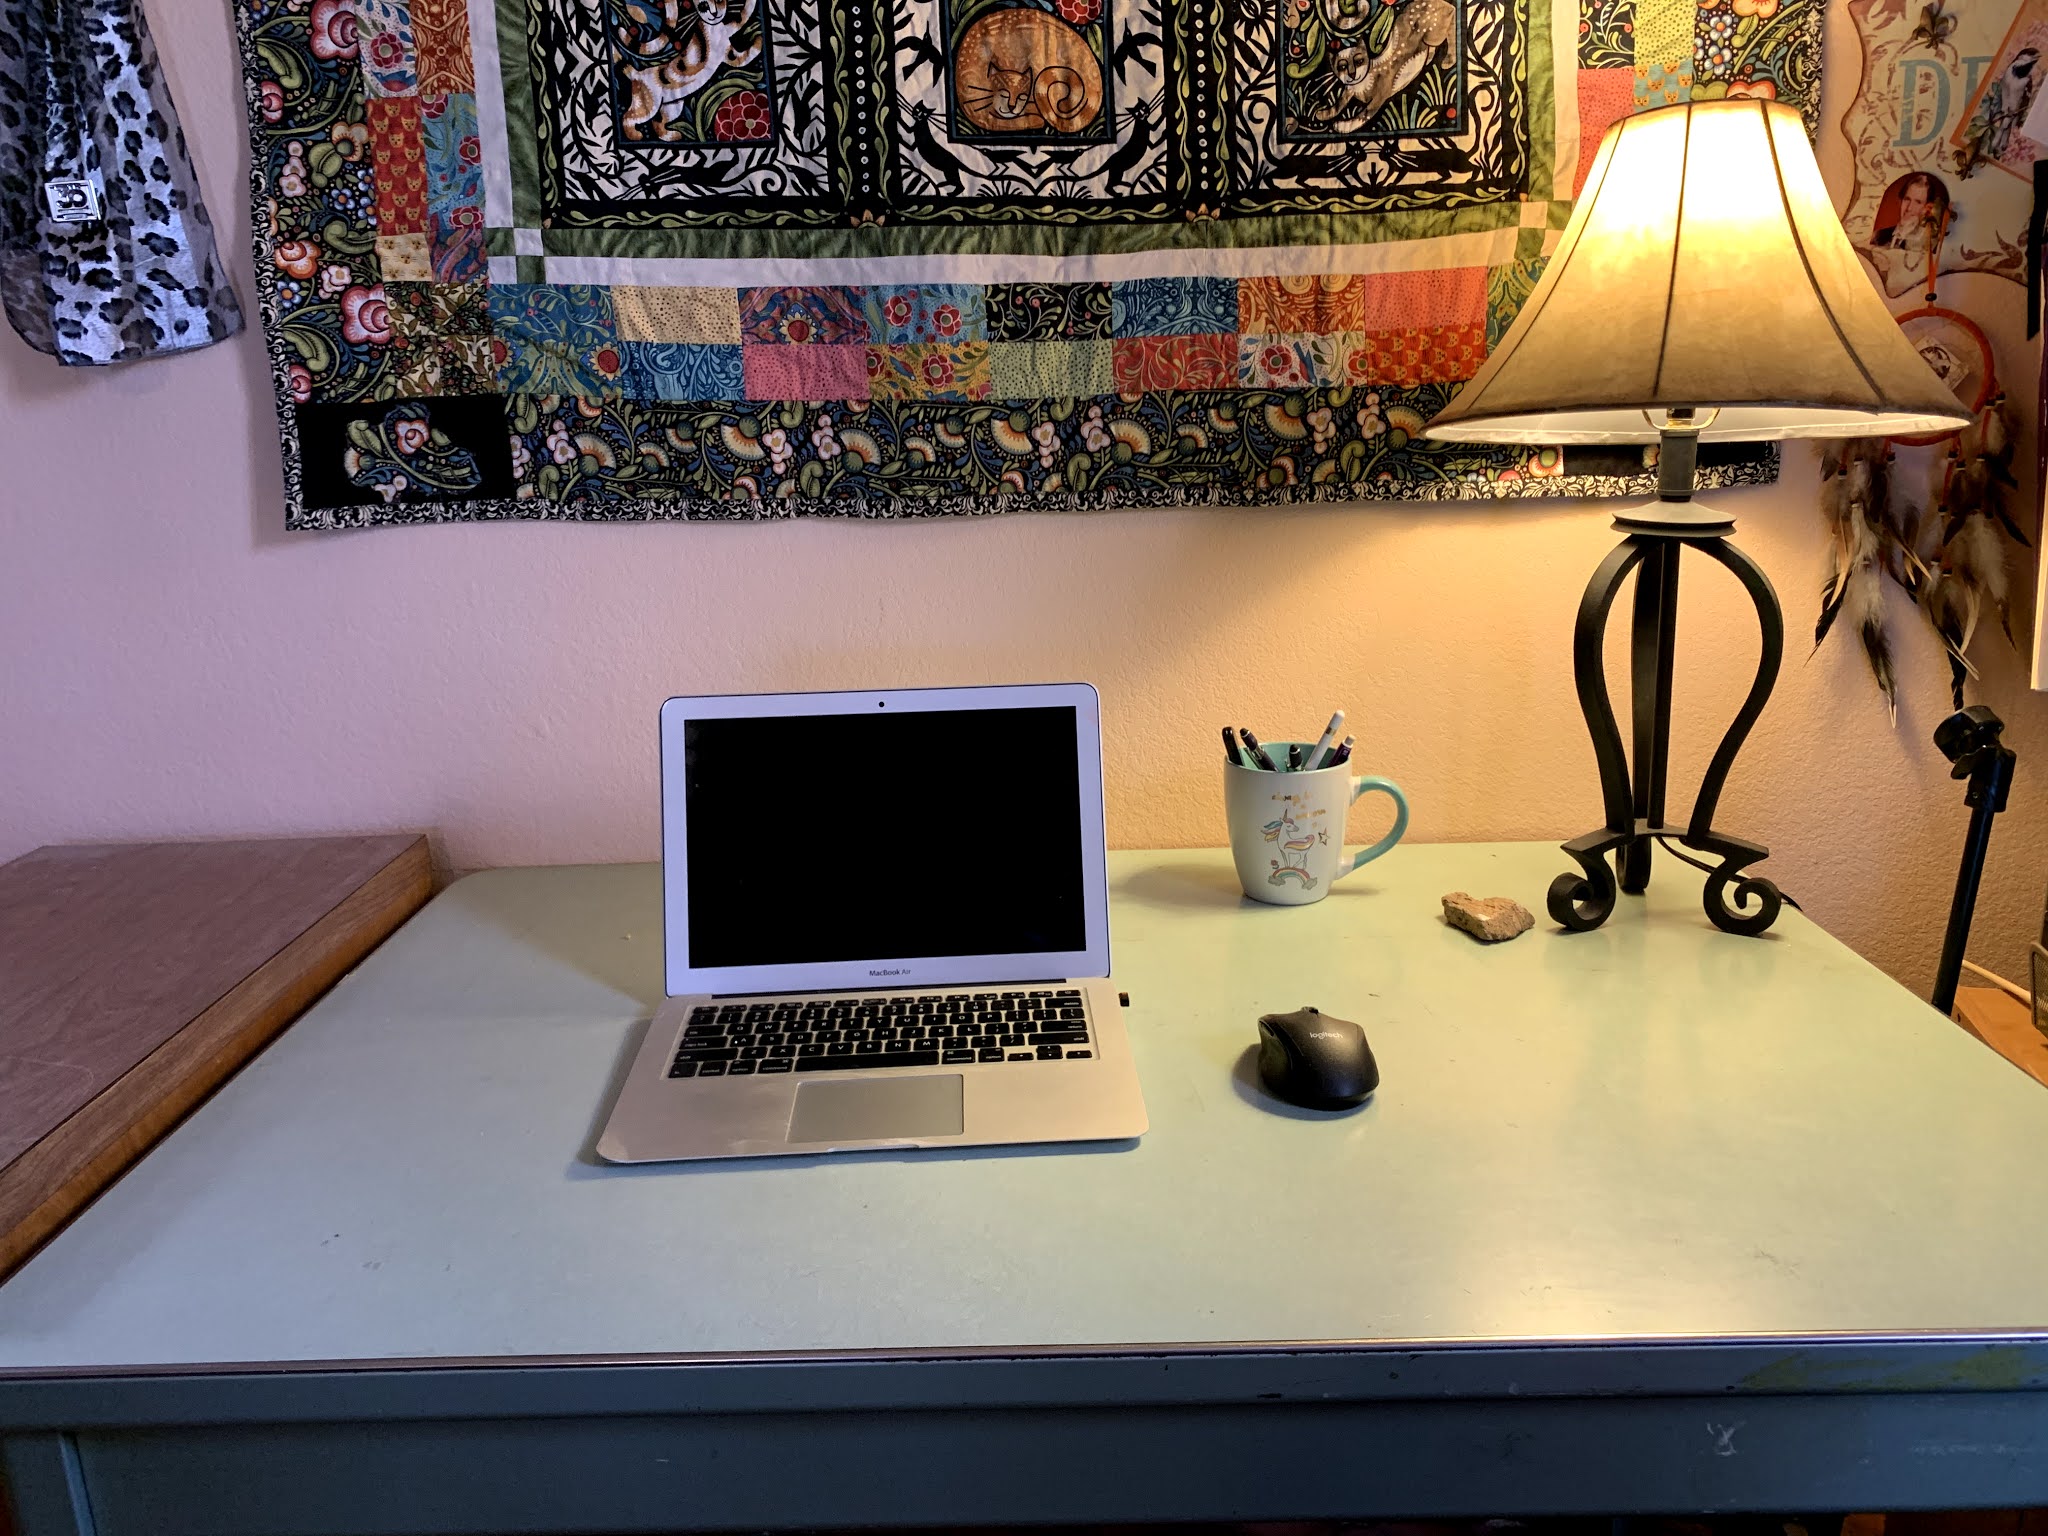
So this is the stamp set I used 153464
Using Cinnamon Cider and Bumble bee 2 of the new colors for 2021and Plaid tidings 153527 from Stampin' Up!®
Iridescent Pearls 153549
Go to the video tosee how I layered them. But here is the dimensions
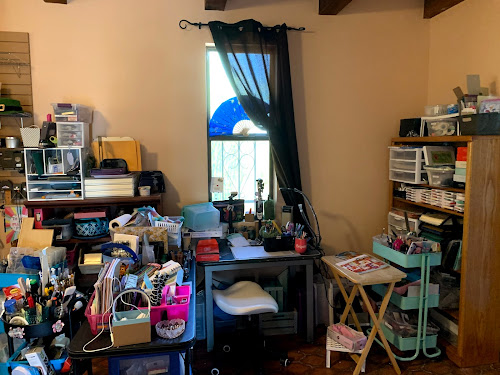
Believe it or not I have an online job I do and this is my workstation. Can it be any more cluttered? I would bring things over to work on and then just leave them there to muddle through later. I'd lose things and go bananas trying to find them. Ugh it was awful
Now I can't promise that I don't have books or papers on the desk all the time. But I do make sure that it doesn't get cluttered. I actually don't want it to go back to the way it looked before I couldn't work like that again.
The book shelf was filled and overflowing and now that I arranged and went through everything I now know where all my books and resources are. I would pile things on top of my bookshelves for storage. To be honest I would forget what was in the containers and have to open every single one to see what was stored in them. As cluttered as it looks I was totally cluttered in my creativity.
At the very least I am able to find my journals and watercolor sheets that before stacked all over the room. Oddly enough you would think I would remember where I put things but I would lay it here or there and never remember I had them. Now I know this is their spot so that's where they will be.
Here's a view of one of the shelves system I had put up. Notice that the very top is not being used I have to get a step-ladder to get up there so it doesn't make it easy for me to get to so I just decided to forgo the shelving system.
Here is that book shelf now. All my papers and stamp sets are lined up in an order to help me not only use them but when I place an order I'm not buying things I already have tons of in my shelf. This not only saves me time it saves me money! I like that cause then I can buy things I really do need.
This is where I film my YouTube uploads. Just total craziness right? Notice the book shelf to the far right total kaos. Inks, paper, and etc. I thought I had my paper organized easily but actually check out the next picture and see how much better and more accessible everything is now.
Well, with the help of Gina my organizer we were able to purge and organize.
Now on close up the table is a mass with items but this is the new set up for my filming and it is so much better. I can have my items at the ready for filming and not have to pause the video to go scrounging around for my supplies. What a joy it is now to do craft video's.
The first card is done on some orange card stock in a standard 4-1/4 X 5.5 format folded landscape style. I used a stamp to ink the sentiment on the DSP in black and held in the right position you get an erie shadow effect. This is a very simple card on the inside I only used a stamp set inside. The best part I think is the side stamp that says Spooky, it is on the vertical and this stamp set has corner stamps which are really neat.
Card 2
Brown card stock and I use the DSP on the inside of the card cut down about 1/4 inch on all sides so roughly 4-1/8 X 5-1/4 approximately. The outside is the really interesting part. Taking some 2 inches by 3-1/2 and 1.5 inch DSP with a die cut edging and about a 3inch by 2 inch DSP for the sentiment layered with a Celebrations label Die outline I put the sentiment inside. All my cuts are approximate I really don't measure I use what I have and then see if I like how it sits if not then I cut it til I'm happy. Using the glitter paper and the Halloween Magic dies decorated the card with some glittery bats.
Card 3
A standard card score 1/4 inch off center and fold it will create an edge that shows off your interior DSP. I had to cut the edge a little to be able to put it into a standard envelope but I still ended up with a cute card. I cut my DSP about 1/4 inch shorter all the way around to get a black border which highlighted the paper nicely. Again glitter paper makes the front of this card stand out on its own. The 3 strips of paper came from a black and white DSP and I used the celebrations stamps for the owls and the sentiment. You could color these but I liked the black and white feel instead.
Card 4
Happy Haunting card with bats of course. You don't have to cover your entire card with paper. Using a small amount of DSP on the front saves the rest for others. Although the bottom layer is pretty big only to off set the smaller version of the back side of this paper. Using some plain card stock for the sentiment and the inside of the card.
Card 5
You don't have to have the entire inside covered either. Having about 4" x4-1/2" of DSP I used a sentiment on the inside to focus away from the bottom of the card which I think makes it interesting.
The front of the card uses a larger version about 4 x 5-1/4 giving the card a nice black border do what works for you. Then a focal point with about a 3x2" DSP. Die cut a banner and using the new Banners punch for the sentiment. Oh we can't forget the glitter bats now can we?
Card 6
Here is a card that looks like it's difficult but it is really easy. Cut, score and fold a card as you normally would for a landscape card. Open it and cut about 1" in from both sides stopping at the middle fold. I glue these down but you can cut that away. Then I glued a 4-1/4 X 5-1/2 DSP inside of the card. I also stamped on the inside top of the card to decorate it but it was blurry and I felt if I put a focal point on it might help to take the focus away from the blurry. It actually doesn't look too bad. On the front I used the corner stamps on the paper and I really like how you can appreciate the papers beauty. Here comes more glitter paper using the die cut I cut out a banner that jazzes it up a little.
Card 7
The best is last, this card was embossed with spider web and I scored and folded 2.3/4" from either edge on the long sides. So that you can have a center opening. The front DSP cut 2- 5-1/4 X 1-3/8. Inside is 5-1/4 X 4 Adding a sentiment. On the outside I used glitter paper cut die cut from label dies and then attached only half of it and it holds the card closed pretty well. The sentiment was punched from the banner punch.
Hope you enjoyed the cards.
The following are the new items and numbers of the products I use in the video. All of them are from Stampin’ Up! Know that Stampin' Up! Does not endorse me or provide items for me to use. I buy everything myself and the ideas are mine or have been influenced by artists or card makers I watch on YouTube.
The card stock is from Stampin’ Up! as well. I like the thickness of their card stock as it folds nicely when making cards. When I’ve used other card stock I noticed that I would get cracks in the folds.
Yes, I was a Stampin' Up! Demonstrator and presently I still use the supplies that I have purchased. Since we have been secluded I haven't been having my card classes nor have I uploaded as often as I wanted. So since then I have been pretty slow in using my supplies and I haven't been able to grow a team.
The products are still the bomb but I can't stay active now. I did hear from my up line that I can get an extension by calling the company and explain why I couldn't make my minimums in July. I have been doing this for 2 years now and I pretty much can't continue spending to keep my discount.
Yes, I worked as hard as I could to grow. I participated in as many craft fairs as I possibly could go to in the Fall and Winter of 2019. I got a few names to add to my list but never gotten any responses from the lists I have sent information to. I am in an area that has many winter visitors rather than people who live here all year long. Trust me those who visit craft fairs are not interested in what I had.
Most visitors are retired and got rid of a lot of things because they want to be able to travel.
So I just figured that I would post on life events travels and the crafts I'm doing for myself and maybe what's going on here in Arizona.
Sorry that I haven't uploaded anything new on the blog. It may just be the way things have been going lately. Have you felt that way too? I have been online on my FaceBook page, Maryannes Creative Mix, I have been doing Art journaling to try and get past my block. Recently I uploaded a live event with April 2020 paper pumpkin and I think I'm getting my groove back. Don't know if my glum feelings have passed but I'm going to enjoy this while I have the chance. Sometimes you can't help how you're feeling. This past week I think was my lowest. My body was so very tired, and I haven't been doing anything so why am I so tired? I'm exhausted watching Netflix, please if I hear another reference to tigers oh my goodness! If you don't know what that means consider yourself lucky.
I thank you so very much for stopping in and reading. This has been really tough for me lately and I feel guilty for not getting uploads done but I am hoping you understand. I'm going to give it another try and I hope you will too.
The new catalog for Stampin' Up!® is coming soon with the new colors for this year and there are some real big surprises in store for us. I hope you'll follow along join me on my FaceBook group or watch me on my YouTube channel (same name).
Welcome to March 2020 Kylie Bertucci's Demonstrator blog post
Here is this month's ideas If you like what you see and want to see more please subscribe so you will get notified when I post a new blog. Comment below to let me know you were here.
St. Patricks' Day Card
You are here with Maryanne Mott go below to check all the other blogs in the HOP and see the awesome ideas. Thank you for being here and please comment and share if you like to help us grow.
Tuesday, March 3, 2020
YOU'RE SO VERY LUCKY!
Here are the announcements for MARCH 2020 From
Maryanne's Creative Mix
March 7, OPEN HOUSE free 10am-2pm come visit me and do a make n take and see all the available classes at Blue Raven Art School 720 East Prince Road. March 15, DROP-IN-CLASS $10 10am-2pm Open class for scrapbooking, card making or just plain crafty goodness. come when you can leave when your done. A paper crafting class designer series paper, punches, die cuts, and embossing so that you can create your own special cards or design a scrapbook entry. Sample cards and ideas for scrapbooking your photos will be available. Join me at Creative Mix Paper Crafters on Meetup.com and get notified of all the classes available. Want to schedule your own?
You can have your own class in my studio or at Blue Raven School.
I was desperately trying to figure out a card to make with the February Paper Pumpkin 2020.
So I was watching video's and Sam Calcutt from the UK to the rescue! She made a Tuxedo Card and I was determined to try to make one myself. Here is Sam's video to inspire you too.
Here is my video on how I made the Tuxedo Card with the Paper Pumpkin February 2020
Welcome to February 2020 Kylie Bertucci's Demonstrator blog post
Here is this month's ideas If you like what you see and want to see more please subscribe so you will get notified when I post a new blog. Comment below to let me know you were here.
Using the Golden Honey (free item from this year's Sale-a-bration!) catalog combined with the Honey bee bundle die, I created these adorable note cards.
Really simple card with left over additions added to just give it some bling. The Die Cut Bee is actually the star of this little not card.
The note card measures 5 x 3.5 so cutting the background paper at 4.75 x 3.25 gives it a nice border. I added the 1inch x 4.75 dsp with the die cut of the bee made out of black foil sheet as the focal point.
I think it makes a cute gift
Thank you so much for stopping by today. Don't forget to visit the other amazing Stampin' Up!® demonstrators from around the world. You are presently here with Maryanne's Creative Mix I hope you'll subscribe and leave a comment before you head off to see the others.


